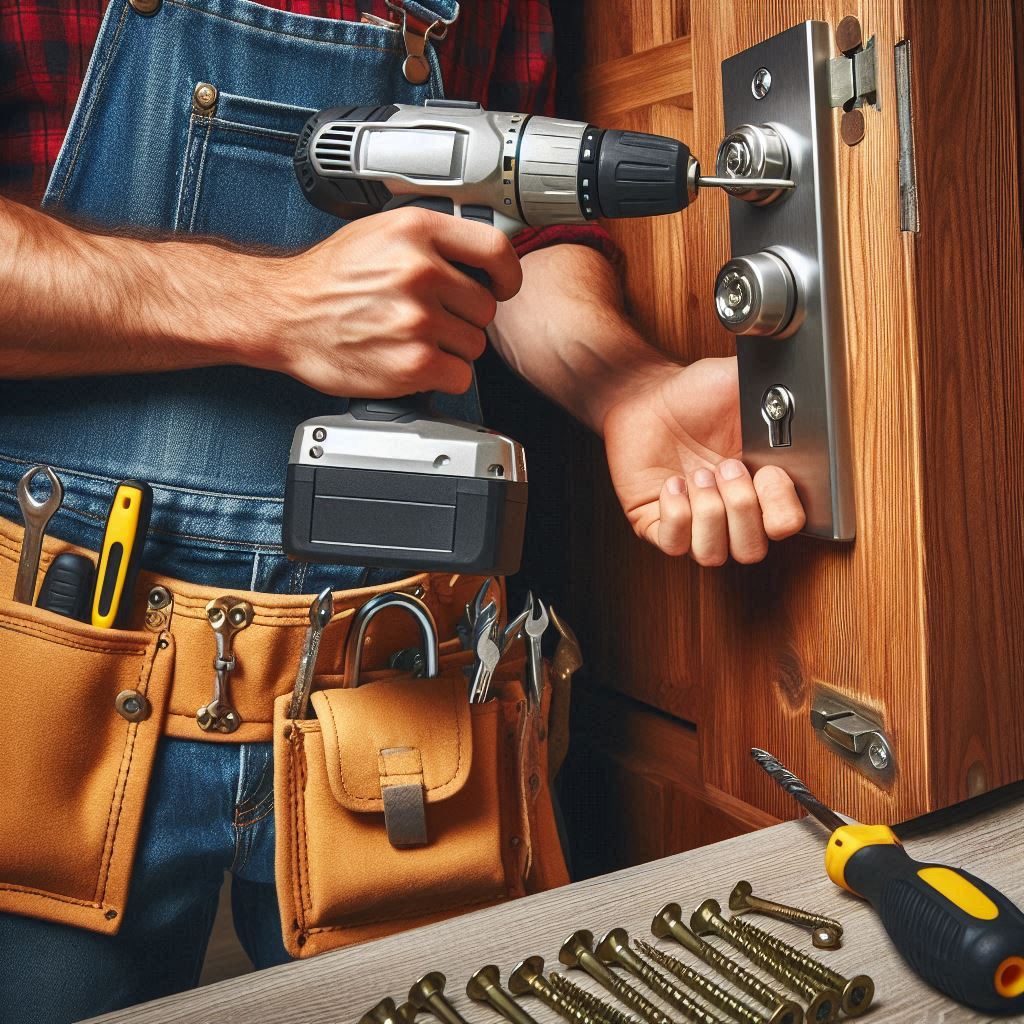
As a main component in home security, deadbolts are invaluable in safeguarding your residence or business from unauthorized access. While the installation of a deadbolt might appear straightforward, there are crucial details and best practices that ensure both effectiveness and durability. This comprehensive guide will delve into time-tested methodologies, tools, and troubleshooting tips for installing deadbolts, aiming to bolster your security with refined precision.
Why a Deadbolt?
Before diving into the nitty-gritty of installation, it’s imperative to understand why deadbolts are a standard in security. Unlike spring bolt locks, which are easily bypassed with enough force or the right tools, deadbolts offer a robust barrier against intrusions. This strength comes from their manual lock mechanism, which requires a considerable effort to disengage without the right key.
Tools You’ll Need
- Measuring Tape
- Pencil or Marker
- Drill and Appropriate Drill Bits
- Chisel
- Screwdriver
- Set Square or Combination Square
- Deadbolt Assembly Kit
Optional but recommended are protective gear like safety glasses and gloves to avoid any mishaps during the process.
Choosing the Right Deadbolt
Not all deadbolts are created equal. High-quality deadbolts, typically made of hardened steel, offer greater durability and resistance to forced entry. ANSI (American National Standards Institute) grades locks based on their robustness:
- Grade 1 offers the highest level of security.
- Grade 2 provides a moderate level suitable for residential use.
- Grade 3 is the minimum acceptable for most residential uses.
For most homeowners, a Grade 2 deadbolt strikes a balance between security and affordability.
Step-by-Step Guide to Installing Deadbolts

Start by gathering all necessary tools and the deadbolt assembly kit. Examine the door to ensure it’s in good condition. Wooden doors should be sturdy enough to withstand the pressure applied by the deadbolt machinery.
Using a measuring tape, find the location for your deadbolt. Typically, deadbolts are installed 6-12 inches above the existing doorknob. Mark this spot on the door’s edge and face using a pencil or marker. Ensure your measurements are precise to avoid misalignment, which could lead to reduced security and functionality.
With the marked locations as a guide, use the hole saw drill bit to drill a hole through the face of the door. Ensure the bit is held perpendicular to the door for a straight hole. Then, drill the edge of the door where the deadbolt latch will sit. Careful execution of this step is crucial, as any deviation can result in a misaligned deadbolt.
Use the chisel to create a mortise for the latch plate on the door edge. The depth should match the thickness of the latch plate to ensure it sits flush with the door edge. This step is essential to ensure the latch operates smoothly without obstructions.
Attach the latch assembly into the mortise and secure it using the screws provided in your kit. Make sure it’s tight and flush with the door edge to prevent any movement that could compromise security.
Close the door and mark the position of the deadbolt on the door jamb. This is where the strike plate will be installed. The strike plate is integral for resisting forceful entry attempts. Drill pilot holes and then use a larger bit to create a cavity for the deadbolt. Affix the strike plate securely using long screws that penetrate deep into the door frame for added strength.
Insert the deadbolt assembly through the face hole and align it with the latch. Secure the exterior and interior parts of the deadbolt with screws. Test the lock several times to ensure smooth operation. If the deadbolt sticks or is hard to turn, adjust accordingly.
Best Practices
Reinforcing the door jamb is crucial for enhancing the security of your entryway. One effective method is to install a metal reinforcement plate, which can significantly reduce the likelihood of a successful kick-in attempt. Such plates are designed to distribute the force of a kick across a larger area, making it exceedingly difficult for an intruder to break through.
When installing a strike plate, opting for longer screws—specifically ones that are at least 3 inches long—is another essential security measure. These screws penetrate deeper into the stud behind the door frame, providing a much stronger anchor compared to shorter screws that only grip the frame itself. This additional depth ensures that the strike plate is firmly secured, making it significantly more challenging for an intruder to force the door open.
Regular maintenance is also vital for the long-term effectiveness of your security measures. Periodically checking the bolts and screws on your doors and making sure they are properly tightened can prevent future vulnerabilities. Lubricating the deadbolt mechanism helps maintain its smooth operation, reducing wear and tear and increasing its lifespan. A well-maintained lock functions more effectively and also offers greater resistance to tampering.
Proper key management is another critical aspect of door security. Avoid leaving spare keys in obvious places where an intruder might look, such as under doormats or flowerpots. Instead, consider using a lockbox, which provides a secure location for your spare keys and can only be accessed by those who have the correct combination or key.
Installing a deadbolt lock is a task that yields significant security benefits when executed correctly. By adhering to these best practices and guidelines, you strengthen your home’s defenses against potential threats. Investing in high-quality components and taking your time with the installation is imperative. Your peace of mind and the safety of your home are undoubtedly worth the effort and investment.
